Monday, February 25, 2013

Salt Dough Maps


I absolutely loved the project we did today in Social Studies! We created our own salt dough maps on any location we chose. We have been talking about the five themes of geography and this is the project we did to wrap up the unit.
 
To make the salt dough, you mix 2 cups of flour and 1 cup of salt together. You gradually add up to a cup of water. The dough should be very thick, but not sticky. If it is too sticky, add some more flour.


I started with my salt dough, a copy of the map I chose to create, and a piece of cardboard to place the map on.


I started forming my salt dough to look like the map. In case you couldn't tell (or you are like me and don't know what most countries look like), I did my salt dough map of Ireland!


After I was satisfied with the shape of my Ireland salt dough, I began to paint it.


I painted the country green because of all the vegetation and green hills! I painted the surrounding cardboard blue to show that Ireland is an island surrounded by the ocean.


Once it was all painted, I decorated it with flags, pictures, and words I printed off the computer. I cut them out and glued them to toothpicks, which I stuck into the map.


I chose Ireland because my grandma's family is from Ireland and she still has family living in County Cork in southern Ireland. Her maiden name was Armstrong. I want to travel to Ireland so badly! Hopefully, one day I'll be able to go!


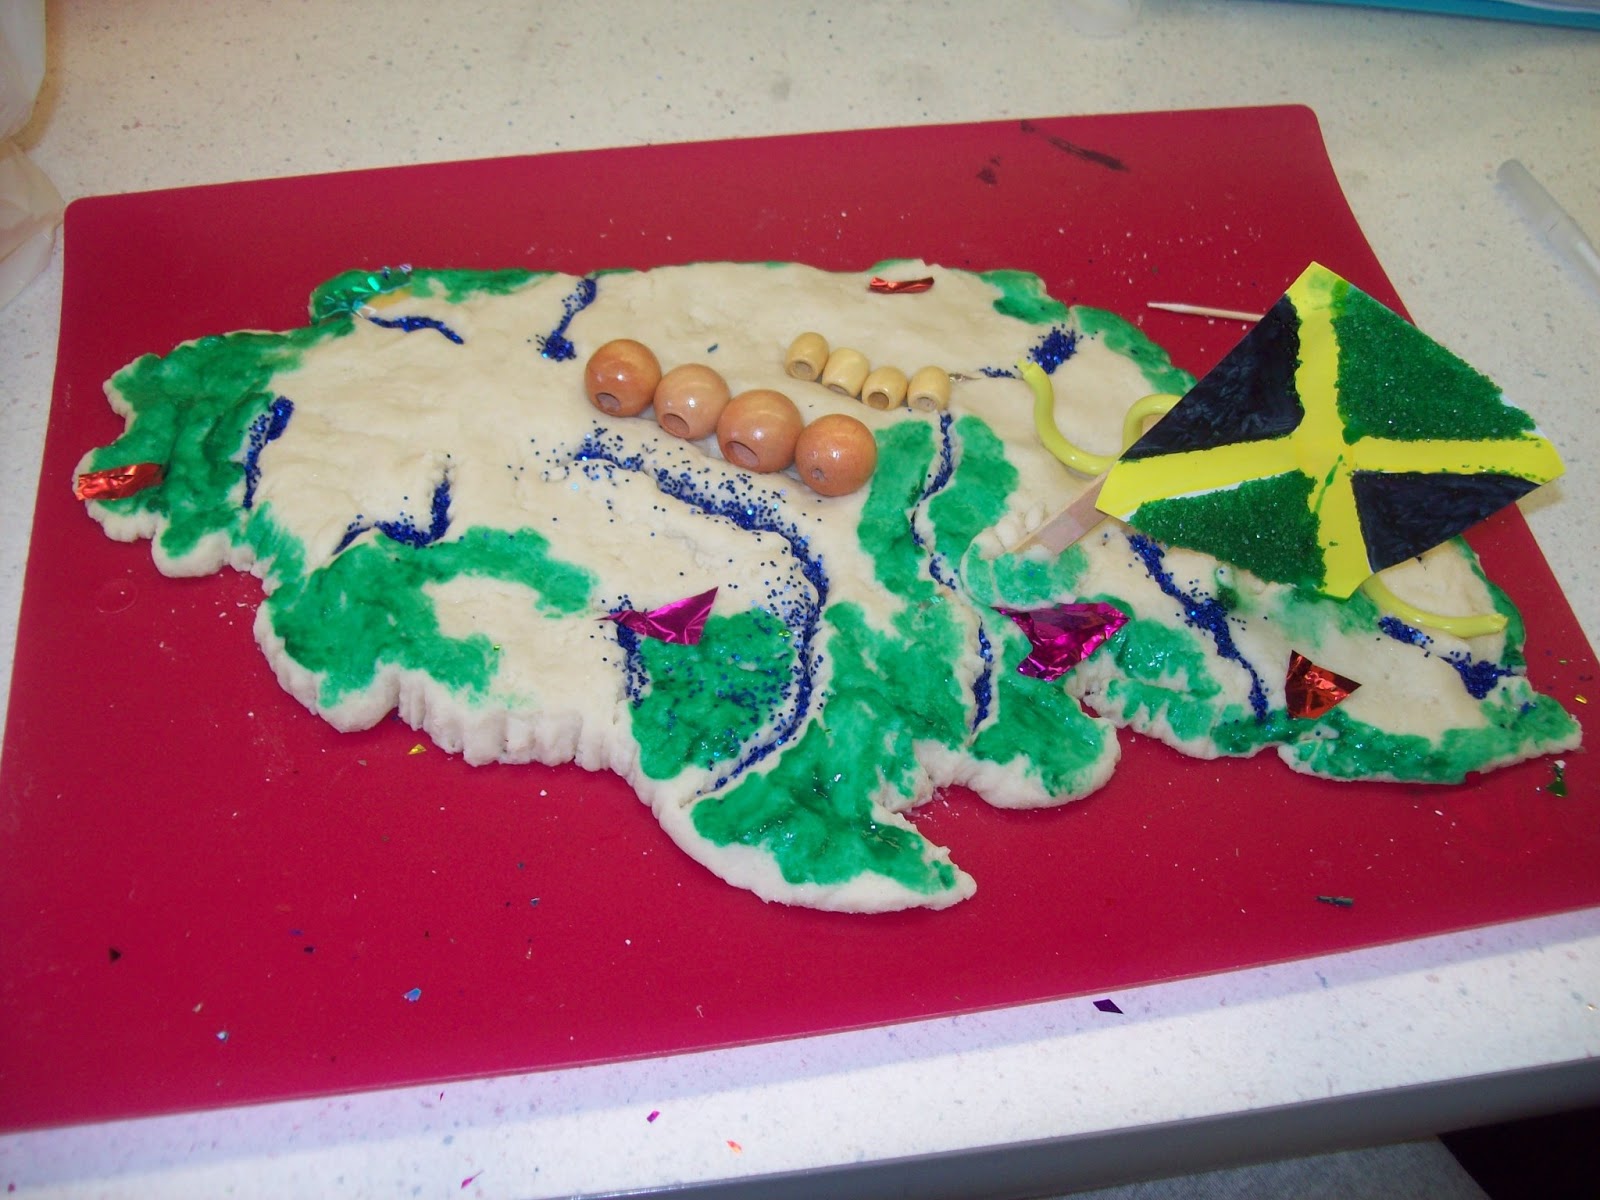
Here are some pictures of some other great maps! Everyone did some great work!


Monday, February 18, 2013

Geography


We talked about the five themes of geography today in class and did a few activities with them. We discussed how to take an activity and incorporate the five themes of geography: location, place, region, movement, and human-environment interaction. The first activity we did was to bring in a picture of our neighborhood. We taped all of them to the wall and discussed the similarities and differences, plus what we could do with it in the classroom.


This is the collection of all of our neighborhoods. Some city, some country, and some student housing.


After we discussed our neighborhoods, we wrote a cinquain poem about our neighborhoods. We wrote them on colored paper, backed them on black paper and hung them with string to the ceiling.


The next activity we did was to decipher these pictures to determine the location they were talking about.


For example, this one is Tokyo.


We then chose our own locations and created our own puzzles for our classmates to decipher. See if you can decipher our puzzles! They're all for locations in states in the United States.


Friday, February 15, 2013

Helpful Websites


Below is a list of websites I find helpful for Social Studies in an elementary classroom:


Below is a list of websites I find helpful for Art in an elementary classroom:


Our Starry Nights

 
Last week we had the opportunity to do our own interpretations of Starry Nights. We followed the model one teacher did with her students: 
Not surprising, the students' works of art featured in this art teacher's blog are much better than some of our renditions. Nonetheless, we enjoyed the process.
 
 
Before we even got started with the project, two of the girls had a little shaving cream war of their own.


To begin the project, cut a piece of thick white paper as large or as small as you want it. I sprayed some shaving cream on the paper and spread it around with this roller, though you can just use your hand.
 

 Then you put dots of paint on top of the shaving cream. You can use whatever colors you want. I used yellow, red, and a little bit of blue (not pictured here). I was going for a sunset effect.


Obviously, the sunset effect did not work out well. The addition of the blue was not what I was going for, as it caused it to turn a light brown color. The yellow and red did not really blend well together to get an orange color, either. Next time, I would probably mix the two together in a container to get orange and then put it on the shaving cream. To get the swirl look, I used a comb and spread it around. I simply made swirls with the comb.


After you have the background you desire (or you just give up so as not to make it worse, in my case), take a black piece of paper and cut out a skyline. Then you can glue the skyline onto the background. I simply laid mine on the still-wet shaving cream/paint, hoping it would attach itself as it dried.


Here are some other Starry Night backgrounds some of the other students created.


Carmen took the excess black paper from my skyline I cut out and used it to create the opposite effect on her Starry Night.


Sunday, February 3, 2013

Trade Fair


Last week in Social Studies we conducted a Trade Fair in which we brought in items to trade. Some people brought in food (loaves of bread, cookies, candy, snacks, and doughnuts), books, picture frames, items from various countries, coffee, etc. We took a notecard and folded it in half. On one side we wrote the items we brought to trade and on the other side we wrote "closed". Before trading began, we walked around the classroom so we could look at all the items. Trading was not only singularly between two parties. A few times person A would only trade with person B if person B traded with person C to get something person A wanted. Once you traded for what you wanted and were satisfied, you flipped your sign around to say that you were closed. It was such a great activity and something you could easily do with a class!
 
Below are some of the items people brought in.


I brought in these Scentsy bars. Such a great hit!!


Once we were all done trading, we created these simple flip books about our trade fair experience. Below is the book I created.